Complete Guide to Tuya Smart Camera Setup: From Unboxing to Full Configuration
Setting up a Tuya smart camera doesn't have to be complicated. Whether you're securing your home with a basic Tuya camera, or keeping an eye on your business with an outdoor unit, I've helped dozens of people install these versatile security cameras. After testing multiple models, including the Tuya TY01, TY02, and several Tuya outdoor cameras, plus popular rebrands like Merkury smart wifi camera setup processes, I've developed a systematic approach that works every time.
The first time I installed a Tuya smart camera, I made several mistakes that cost me hours of troubleshooting. Now, after setting up systems for friends and family, including various Tuya cameras and even helping with Tuya smart plug setup alongside the cameras, I can guide you through the entire process in about 15 minutes. Let's dive into everything you need about Tuya smart camera setup, from choosing the right model to advanced configuration options.
Understanding Tuya Smart Cameras Before Setup
Before we get into the setup process, it's crucial to understand what makes Tuya cameras different from other smart security options. Tuya is essentially a platform that powers numerous smart home brands - think of it as the Android of smart home devices. This means when you buy a camera compatible with the Tuya ecosystem (brands like NICEMOOD, Merkury, and others), you're getting access to a unified app experience.
I've tested cameras ranging from basic indoor models to advanced Tuya solar cameras, and they all share common setup procedures through the Tuya Smart or Smart Life app. The beauty of this system is that once you learn to set up one Tuya device, whether it's a camera, a Tuya smart power strip, or a Tuya smart plug setup, the process becomes second nature. Even branded versions like Merkury smart wifi camera setup follow nearly identical procedures.
During my testing, I found that most Tuya cameras offer:
- 1080p HD resolution (some newer models support 2K or even 4K)
- Night vision capabilities
- Motion detection with customizable zones
- Two-way audio communication
- Cloud and local storage options
- Integration with voice assistants and other Tuya devices, like smart LED strips
What You'll Need Before Starting Your Tuya Camera Setup
From experience, gathering everything beforehand saves significant time. Here's what you'll need:
Essential Requirements:
- Your Tuya-compatible camera (obviously!)
- A smartphone with iOS 8.0+ or Android 4.4+
- Stable 2.4GHz Wi-Fi network (this is critical - 5GHz networks won't work)
- Your Wi-Fi password
- Power source near your installation location
- Tuya Smart or Smart Life app (free download)
Optional but Helpful:
- MicroSD card for local recording (32 GB- 128 GB recommended)
- Ethernet cable for initial setup (some models)
- Mounting hardware is not included
- Extension cord for outdoor installations
- Tuya solar camera panel for wire-free setups
One mistake I made early on was trying to connect to my 5 GHz network. Tuya cameras, like most smart home devices, including those involved in Merkury smart wifi camera setup, only work with 2.4GHz networks. If your router broadcasts both frequencies with the same name, you might need to temporarily separate them or use your router's guest network feature.
Step-by-Step Tuya Smart Camera Setup Process
Step 1: Download and Configure the App
Whether you're setting up a Tuya camera or going through Merkury smart wifi camera setup, the app process is identical:
- Search for "Tuya Smart" or "Smart Life" in your app store
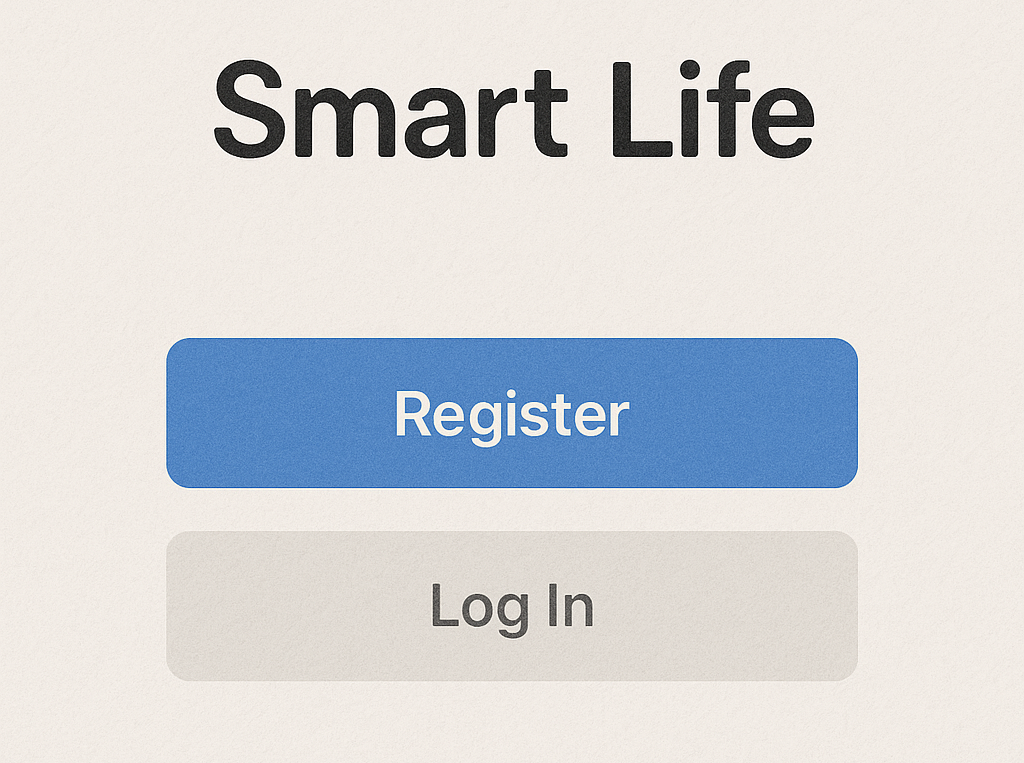
- Download and open the app
- Tap "Register" to create a new account
- Enter your email or phone number
- Create a strong password
- Verify your account through the confirmation code
Pro tip: Use an email address you check regularly. The app sends important security notifications here, whether for your cameras or other devices, like when doing a Tuya smart plug setup.
Step 2: Initial Camera Preparation
Before adding your Tuya camera to the app:
- Unbox your camera and check all components
- If using a Tuya smart camera outdoor model, ensure weather seals are intact
- For Tuya solar camera installations, position the solar panel for optimal sun exposure
- For models with antennas, attach them securely
- Plug in the camera (or ensure the solar panel is connected) and wait for the startup sound
- Insert a microSD card if you plan to use local storage
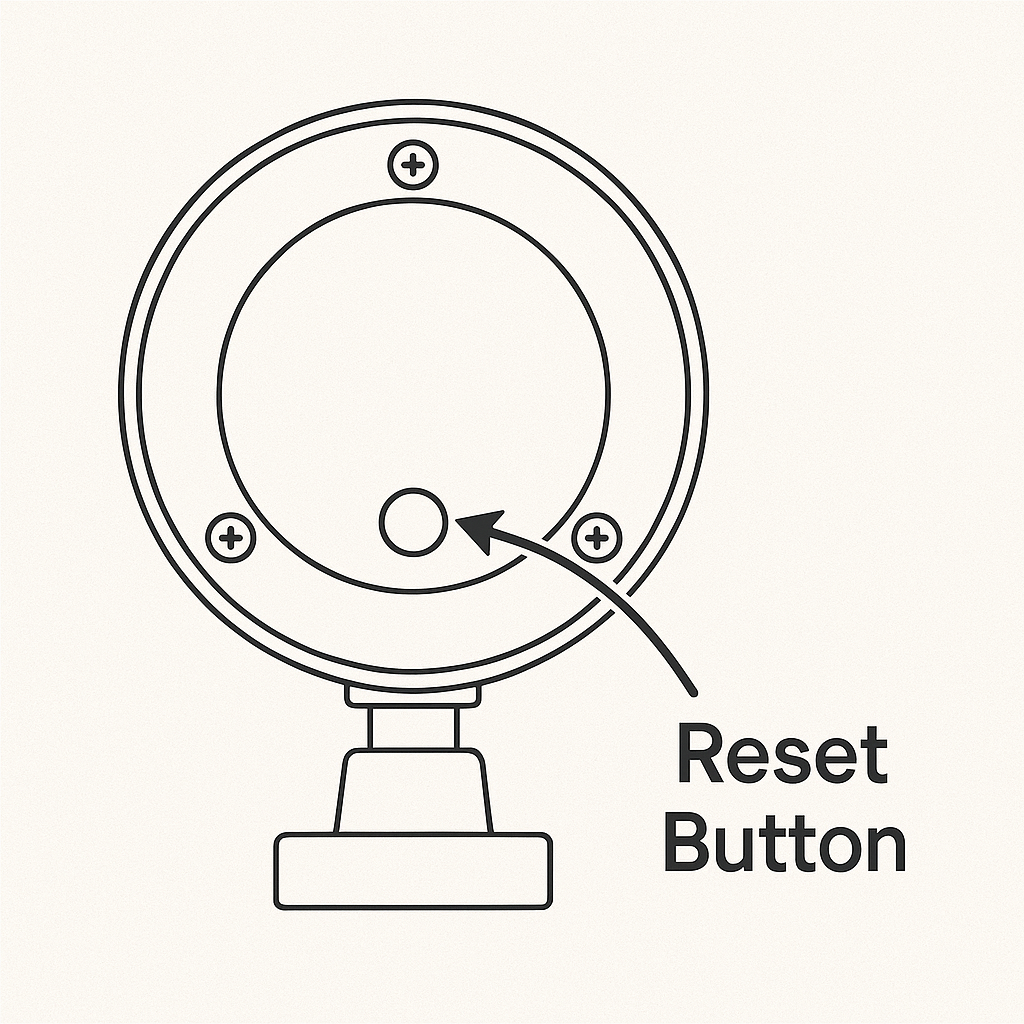
Most Tuya cameras emit a distinct sound when ready for pairing, usually a voice prompt saying "Ready to connect" or similar. This is the same whether you're doing a standard Tuya camera setup or Merkury smart wifi camera setup. If you don't hear this after 30 seconds, try pressing the reset button (usually hidden under a rubber flap).
Step 3: Adding Your Camera to the App
Now comes the actual pairing process. In my experience with various Tuya cameras, the QR code method works most reliably:
- Tap the "+" icon in the app's main screen
- Select "Security & Sensors" then "Smart Camera"
- Confirm you hear the pairing sound from your camera
- Choose your 2.4GHz Wi-Fi network and enter the password
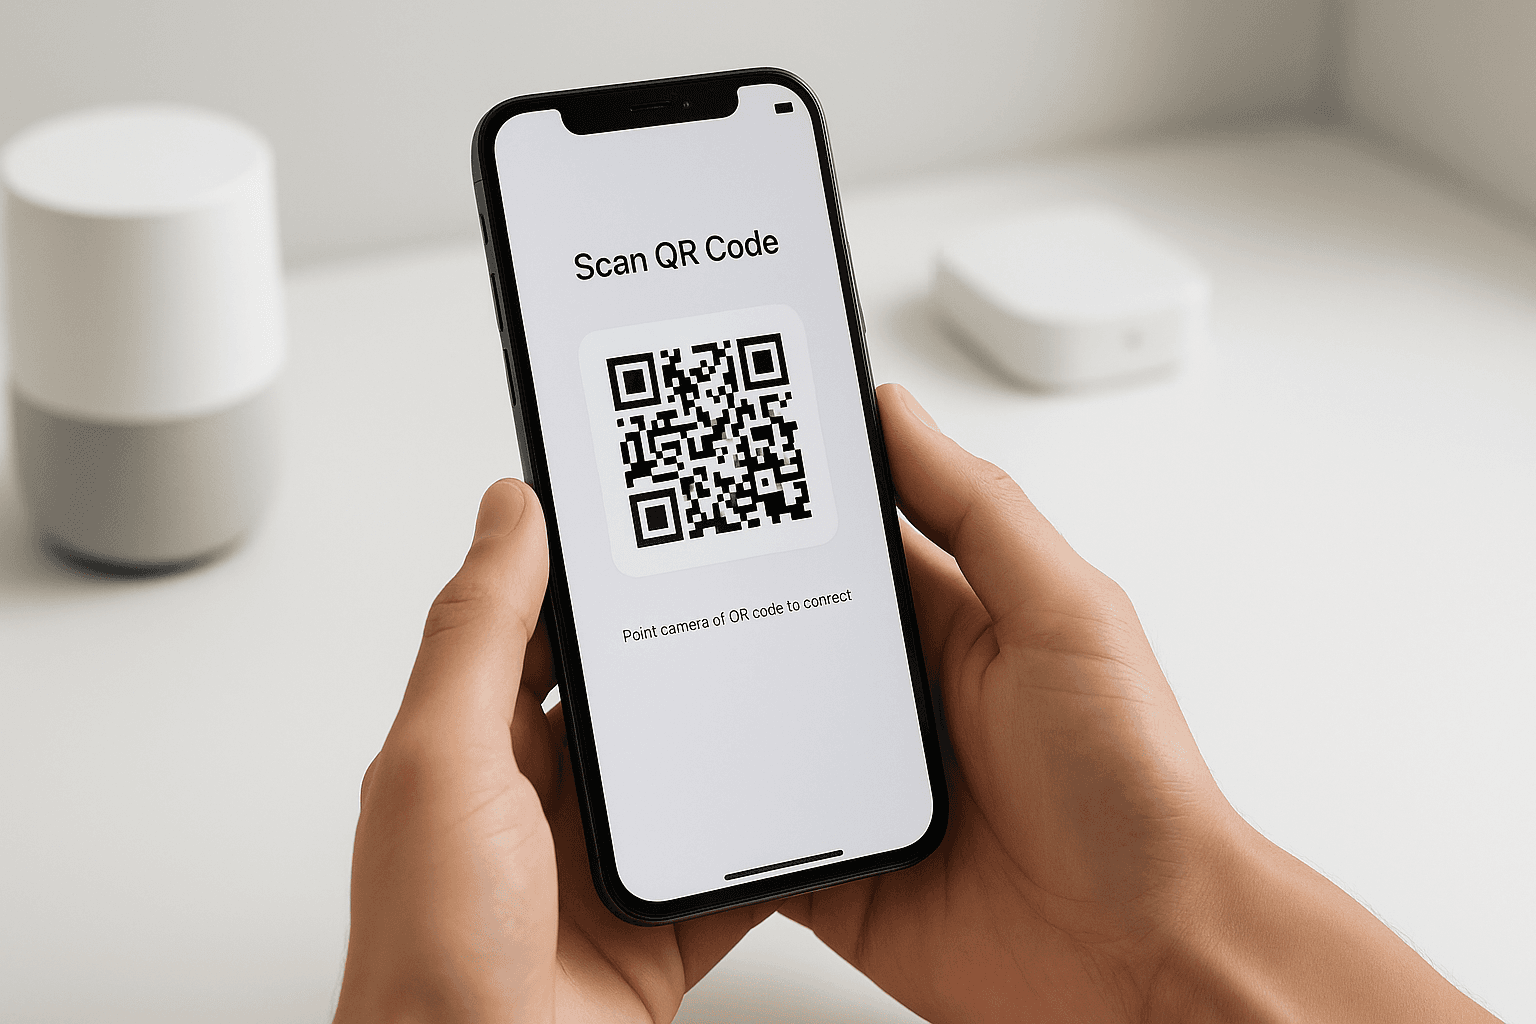
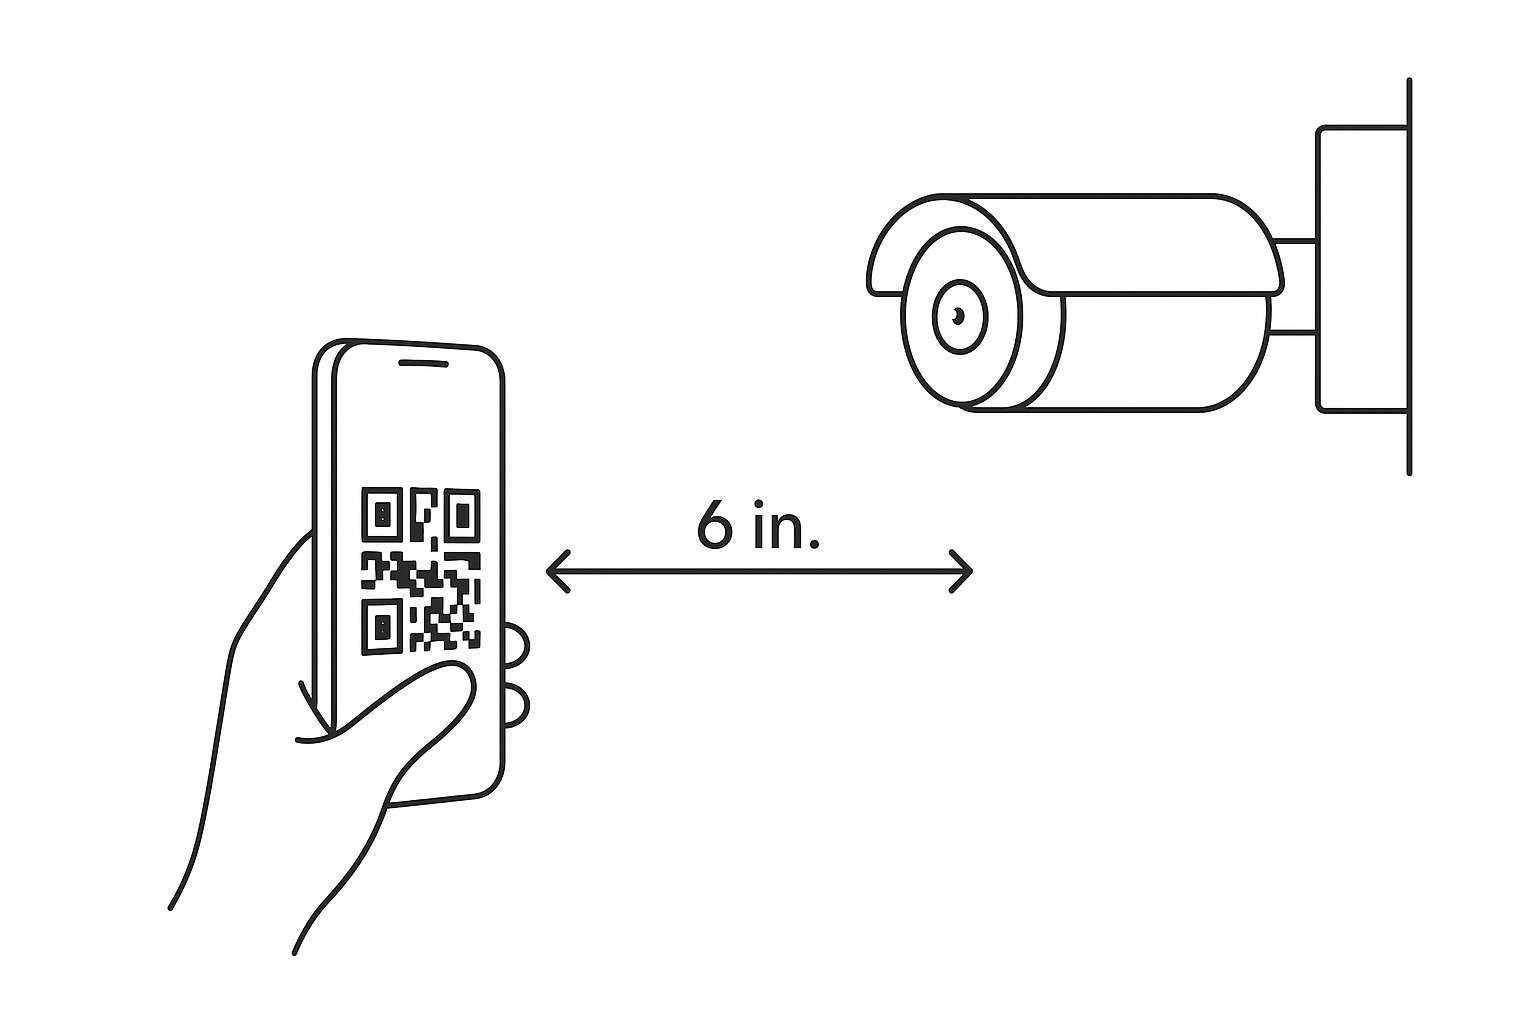
- The app generates a QR code - hold this about 6-8 inches from your camera lens
- Wait for the camera to scan and emit a confirmation sound
- The app will complete the connection automatically
Alternative method (works for both standard Tuya and Merkury smart wifi camera setups):
- Hold the reset button for 5 seconds until you hear "AP mode"
- Go to your phone's Wi-Fi settings
- Connect to the camera's temporary network (usually "SmartLife-XXXX")
- Return to the app and follow the prompts
Step 4: Basic Configuration
Once your Tuya camera is connected, configure these essential settings:
- Name your camera: Choose something descriptive like "Front Door" or "Living Room."
- Set your time zone: Crucial for accurate timestamps
- Update firmware: Always accept firmware updates for security patches
- Test live view: Ensure you can see the video feed clearly
- Check audio: Test the two-way communication feature
- Link other devices: If you have a Tuya smart power strip or have completed a Tuya smart plug setup, link them for automation
Advanced Configuration Options for Your Tuya Camera
After the basic setup, these advanced features significantly enhance your camera's functionality:
Motion Detection Zones
I've found this feature invaluable for reducing false alerts on all Tuya camera models:
- Open camera settings
- Select "Motion Detection"
- Draw custom zones on the preview image
- Adjust sensitivity levels (start at medium)
- Set notification schedules to avoid alerts during specific times
- Link to your Tuya smart LED strip for automatic lighting when motion is detected
Recording Settings
Configure how your Tuya camera saves footage:
- Continuous Recording: Records 24/7 to your SD card
- Motion-Triggered: Only records when movement detected
- Scheduled Recording: Set specific time periods
- Event-Triggered: Activated by other Tuya devices (door sensors, smart plugs)
For most users, I recommend motion-triggered recording to save storage space. My 32GB card in a standard Tuya camera typically holds about two weeks of motion-triggered clips.
Privacy Mode
This underrated feature works across all Tuya cameras:
- Enable Privacy Mode in settings
- The camera physically tilts down or covers its lens
- Perfect for when you're home and want privacy
- Can be scheduled automatically or triggered by other Tuya devices
Night Vision Options
Most Tuya cameras offer three night vision modes:
- Auto: Switches based on ambient light
- Always On: Infrared stays active
- Full Color: Uses spotlights for color night vision (select models)
I prefer Auto mode for indoor cameras and Full Color for Tuya smart camera outdoor installations where deterrence matters.
Setting Up Cloud Storage
While local storage via microSD card works well for any Tuya camera, cloud storage offers additional benefits:
Advantages:
- Footage remains safe even if camera is stolen
- Access recordings from anywhere
- Automatic clip organization
- AI-powered event detection
- Works identically for Tuya and Merkury smart wifi camera setup
Setup Process:
- Navigate to Cloud Storage in camera settings
- Choose a subscription plan (typically 7 or 30-day options)
- Monthly costs range from $3-10 depending on storage duration
- Many cameras include a free trial period
Based on my experience, cloud storage is worth it for entry points like front doors but might be overkill for indoor pet monitoring with basic Tuya cameras.
Integration with Smart Home Systems
One of Tuya's strengths is its ecosystem compatibility. Here's what I've successfully integrated:
Voice Assistant Setup:
- Alexa: Enable the Tuya Smart skill in Alexa app
- Google Home: Link Tuya Smart in Google Home settings
- Siri: Limited support through Shortcuts app
Automation Examples:
- Turn on Tuya smart LED strip when motion detected
- Activate devices through Tuya smart power strip when leaving home
- Trigger recording when smart door sensor opens
- Use Tuya smart plug setup to control lights based on camera activity
- Link Tuya solar camera to battery-powered accessories
Troubleshooting Common Setup Issues
Through helping others with both standard Tuya camera and Merkury smart wifi camera setup, I've encountered these frequent problems:
Camera Won't Connect:
- Ensure 2.4GHz network (not 5GHz)
- Disable VPN on your phone
- Move closer to router during setup
- Check if MAC filtering is enabled on router
- Try AP mode if QR code fails
- For Tuya solar camera models, ensure adequate charge
Poor Video Quality:
- Check Wi-Fi signal strength at camera location
- Reduce distance between camera and router
- Consider a Wi-Fi extender for distant cameras
- Adjust video quality settings in app
- Clean lens on outdoor Tuya camera installations
Frequent Disconnections:
- Update camera firmware
- Assign static IP address in router settings
- Check if router has device limits
- Ensure stable power supply (especially for Tuya solar cameras)
- Verify your Tuya smart power strip isn't causing power fluctuations
Best Tuya Camera Options for Different Needs
Based on extensive testing, here are my recommendations:
Indoor Monitoring:
- Tuya 1080p Pan/Tilt Camera: Great for large rooms, pet monitoring
- Merkury Smart WiFi Camera: Budget-friendly option with solid features (Merkury smart wifi camera setup is identical to standard Tuya)
- Mini Tuya Camera: Discrete monitoring option
- Features: 360° coverage, two-way audio, motion tracking
Outdoor Security:
- Tuya Smart Camera Outdoor: Weatherproof with color night vision
- Tuya Solar Camera: Ideal for locations without power outlets
- PTZ Outdoor Model: Large property surveillance
- Features: IP65 rating, wider field of view, deterrent lighting
Integration-Focused Setups:
- Pair any Tuya camera with smart plugs for automated lighting
- Use with Tuya smart power strip for centralized control
- Combine with door sensors for comprehensive security
Security Considerations
After setting up numerous Tuya camera systems, security remains paramount:
- Change default passwords immediately
- Enable two-factor authentication in the app
- Regular firmware updates for all devices
- Use strong Wi-Fi passwords
- Consider network segregation for IoT devices
- Review sharing permissions regularly
- Secure physical access to cameras and connected devices like smart power strips
Maintenance Tips for Long-Term Reliability
Keep your Tuya cameras functioning optimally:
Monthly Tasks:
- Clean camera lens with microfiber cloth
- Check mounting hardware for looseness
- Review and delete old recordings
- Test motion detection zones
- Verify all linked devices (smart plugs, LED strips) work correctly
Quarterly Tasks:
- Update app and firmware
- Check weatherproofing on outdoor units and Tuya solar camera panels
- Test night vision functionality
- Verify cloud storage backups
- Inspect power connections on Tuya smart power strip setups
Expanding Your Tuya Ecosystem
Once you've mastered Tuya camera setup, consider these complementary devices:
- Tuya Smart Power Strip: Control multiple devices remotely
- Tuya Smart Plug Setup: Automate any plugged-in device
- Smart Door Sensors: Trigger camera recording when doors open
- Tuya Smart LED Strip: Automate lighting based on camera detection
- Additional Cameras: Build comprehensive coverage
The beauty of the Tuya ecosystem is how seamlessly these devices work together through a single app, whether you started with a basic camera or went through Merkury smart wifi camera setup.
Frequently Asked Questions
Can I use Tuya cameras without internet?
Yes, for local viewing and recording to SD card. However, remote access, notifications, and cloud storage require internet connectivity. This applies to all models including Tuya solar camera setups.
Do Tuya cameras work with 5GHz Wi-Fi?
No, Tuya cameras and Merkury smart wifi camera setup only support 2.4GHz networks. This is standard for most smart home devices due to better range and compatibility.
Can I share camera access with family members?
Yes, the app offers home member and guest sharing options with customizable permissions for all Tuya devices, not just cameras.
Is the cloud storage subscription per camera or per account?
Subscriptions are typically per camera, though some providers offer multi-camera discounts. This pricing structure is the same whether you did standard Tuya or Merkury smart wifi camera setup.
How do I reset my Tuya camera to factory settings?
Hold the reset button for 10-15 seconds until you hear the voice prompt confirming reset. This works for all models including outdoor and solar variants.
Conclusion
Setting up your Tuya smart camera system doesn't have to be daunting. With proper preparation and following these steps, you'll have a functioning security system in under 30 minutes. The process is consistent whether you're doing a basic Tuya camera installation, Merkury smart wifi camera setup, or configuring a Tuya solar camera for remote locations.
The flexibility of the Tuya ecosystem means you can start with a single camera and expand as needed, adding smart plugs, power strips, and LED strips for comprehensive home automation. Whether you're using it for security, pet monitoring, or general peace of mind, these cameras offer excellent value when properly configured.
Take time to explore all features - you might discover functionalities that perfectly solve problems you didn't even know you had. And remember, if you encounter issues during your Tuya smart camera setup, the active Tuya community and support resources are always available to help.